Get Salon-Perfect Nails at Home: Our 10-Step Foolproof Guide
Dreaming of flawless, salon-perfect nails without the hefty price tag or time commitment? You’re in the right place! Achieving a professional-quality manicure at home is easier than you think. With the right tools, techniques, and a little patience, you can transform your nails into a stunning masterpiece.
This 10-step foolproof guide will walk you through every detail to get glossy, long-lasting, salon-worthy nails from the comfort of your home. Let’s dive in!
Why Choose a DIY Manicure?
Doing your nails at home isn’t just about saving money—it’s about having fun, expressing your creativity, and mastering a skill. Plus, you can customize your manicure to match your mood or style without booking an appointment.
Whether you’re a beginner or a seasoned nail enthusiast, this guide ensures salon-quality results every time.
What You’ll Need for Salon-Perfect Nails
Before we jump into the steps, gather these essentials for a seamless experience:
- Nail polish remover and cotton pads
- Nail file and buffer
- Cuticle pusher and nipper
- Base coat, nail polish, and top coat
- Nail clippers or scissors
- Moisturizing hand cream or cuticle oil
- A small bowl with warm water and soap
- A clean towel
- Optional: Nail polish corrector pen, acetone, or a small brush for cleanup
Having everything ready will make your DIY manicure smooth and stress-free.
Step 1: Remove Old Polish Completely
Start with a clean slate. Use a non-acetone nail polish remover to wipe away any existing polish. Acetone can be harsh on nails, so opt for a gentler formula to keep them healthy. Soak a cotton pad, press it against the nail for a few seconds, and swipe away. Repeat until your nails are bare and residue-free.

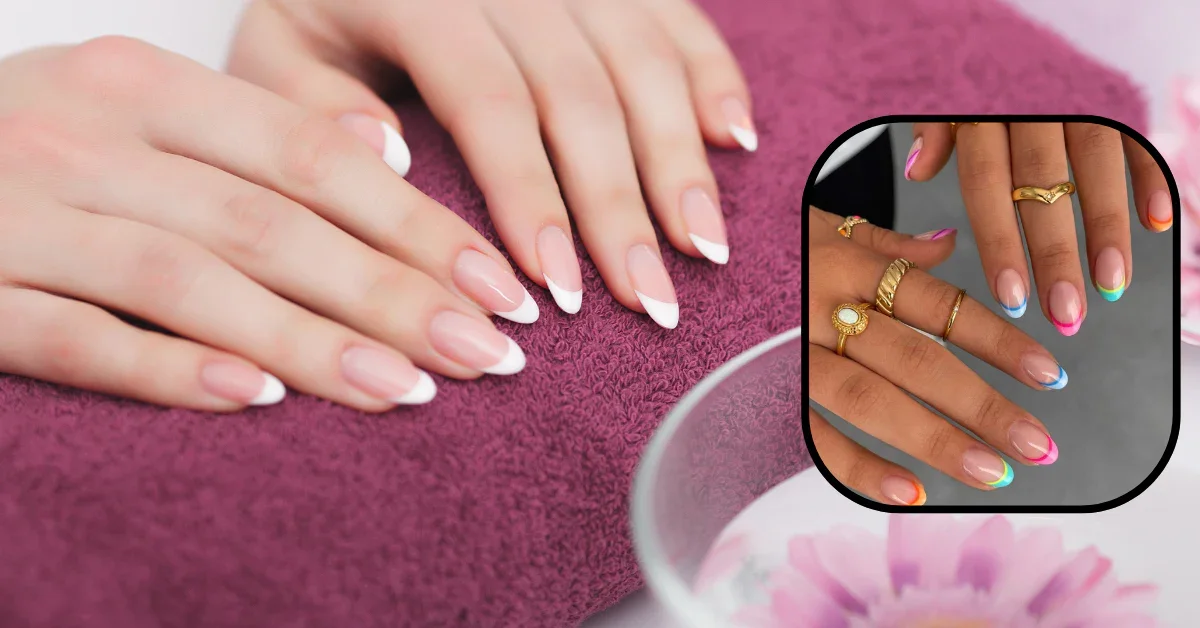
Step 2: Trim and Shape Your Nails
Grab your nail clippers and file to shape your nails to your desired length and style—whether it’s square, oval, or almond. File in one direction to avoid splitting or weakening the nail. For a polished look, aim for uniformity across all nails. Pro tip: Shorter nails are easier to maintain and less prone to breakage.
Step 3: Buff for a Smooth Surface
Gently buff the surface of your nails with a nail buffer to smooth out ridges. This creates a perfect canvas for polish application. Don’t overdo it—buff just enough to remove imperfections without thinning the nail. A smooth surface ensures your polish adheres evenly for that salon-perfect finish.
Step 4: Soak and Soften Cuticles
Soak your hands in a bowl of warm, soapy water for 3–5 minutes to soften your cuticles. This makes them easier to manage. Pat your hands dry with a clean towel. If you don’t have time to soak, apply a cuticle softener gel and let it sit for a minute before moving to the next step.
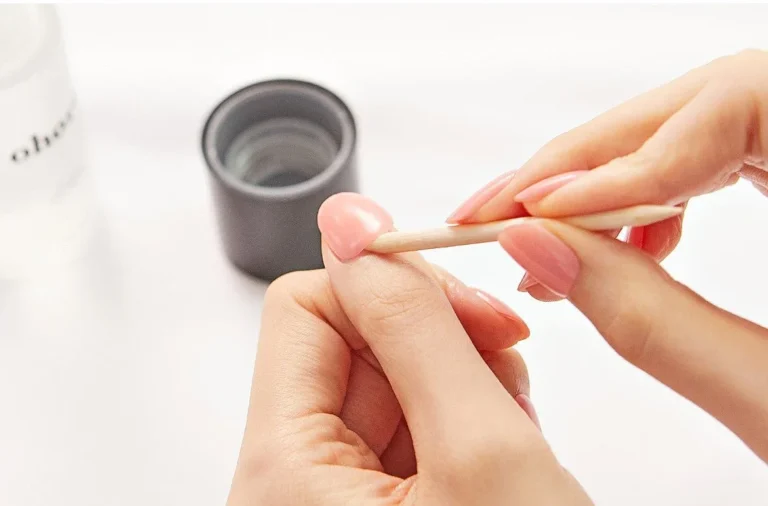
Step 5: Push Back and Trim Cuticles
Using a cuticle pusher, gently push back the softened cuticles to reveal more of the nail bed. For any excess skin, carefully trim with a cuticle nipper—be cautious to avoid cutting too deep. Well-groomed cuticles give your nails a clean, professional look and help polish last longer.
Step 6: Moisturize and Prep
Apply a lightweight hand cream or cuticle oil to hydrate your nails and surrounding skin. Massage it in for a spa-like treat. Before painting, wipe your nails with a cotton pad soaked in nail polish remover to eliminate any oils. This ensures your polish sticks better and lasts longer.
Step 7: Apply a Base Coat
A base coat is the secret to salon-perfect nails. It protects your natural nails, prevents staining, and helps polish adhere. Apply a thin, even layer of base coat to each nail and let it dry completely (about 2–3 minutes). Don’t skip this step—it’s a game-changer for a flawless manicure.

Step 8: Paint with Precision
Now for the fun part—color! Choose your favorite nail polish and apply it in thin, even layers. Start with a stripe down the center, then one on each side, using three strokes per nail. Thin coats prevent bubbles and streaks. Allow the first coat to dry for 2–3 minutes before applying a second coat for full opacity.
Quick Tips for Perfect Polish Application:
- Shake the polish bottle gently to mix, but avoid vigorous shaking to prevent air bubbles.
- Use a polish corrector pen or a small brush dipped in acetone to clean up any mistakes around the edges.
- Experiment with trends like glossy nudes, bold reds, or playful pastels for a personalized touch.
Step 9: Seal with a Top Coat
Lock in your color with a high-quality top coat. This adds shine, protects against chips, and extends the life of your manicure. Apply a thin layer, making sure to cover the edges of your nails to “seal” the polish. Let it dry for at least 5 minutes to avoid smudging.
Step 10: Maintain Your Manicure
To keep your salon-perfect nails looking fresh, apply a thin layer of top coat every 2–3 days to maintain shine and prevent chipping. Avoid soaking your hands in hot water for long periods, and wear gloves when doing dishes or cleaning. Regular moisturizing with cuticle oil will keep your nails healthy and strong.
Troubleshooting Common Nail Issues
- Chipping Polish: Ensure your nails are oil-free before applying polish, and always use a top coat.
- Bubbles in Polish: Apply thin layers and avoid shaking the bottle too much.
- Yellowing Nails: Always use a base coat to prevent staining from dark polishes.
- Weak Nails: Incorporate a nail strengthener into your routine and avoid over-buffing.
Conclusion: Show Off Your Salon-Perfect Nails!
With these 10 simple steps, you’re ready to flaunt gorgeous, salon-quality nails from home. Not only will you save time and money, but you’ll also enjoy the satisfaction of mastering a professional-looking manicure. So grab your tools, pick a fun polish color, and let your creativity shine. Your nails are your canvas—make them fabulous!