How To Remove Gel Nail Polish At Home
Gone are the days of chipped manicures and endless salon visits. Gel nails have revolutionized the beauty game, offering weeks of chip-free, high-shine perfection. But what happens when it’s time to say goodbye to your gel look?
Removing them safely without causing damage can be tricky. Worry not, fellow nail enthusiasts! This comprehensive guide will equip you with all the essential knowledge and tools to effortlessly remove gel polish at home, leaving your natural nails happy and healthy.
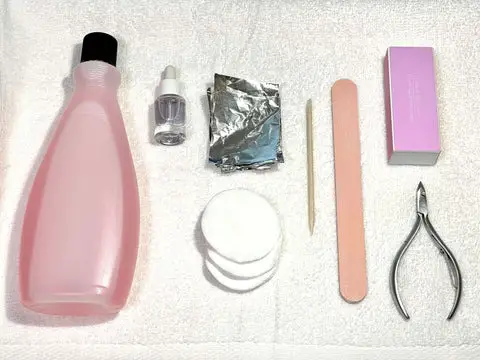
Before diving in, assemble your removal team:
- Acetone-free nail polish remover: Opt for gentle formulas containing ethyl acetate or soy-based alternatives. Harsh acetone can dry out and weaken your natural nails.
- Cotton balls or pads: Stock up on these absorbent warriors to soak your polish away.
- Orangewood cuticle pusher: This gentle tool helps lift off the gel edges without scraping.
- Aluminum foil squares: Cut them into manageable sizes to wrap around each fingertip.
- Moisturizer and hand cream: Pamper your nails and cuticles post-removal to restore hydration.
Now, let the DIY gel removal commence!
- File it Down: Gently buff the top layer of the gel polish with a fine-grit emery board. This roughens the surface, allowing the remover to penetrate better.
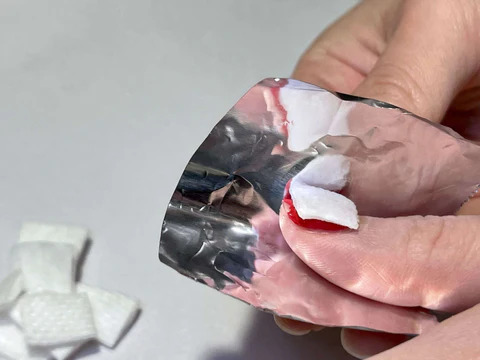
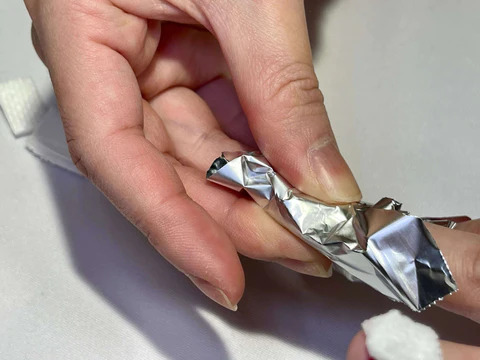
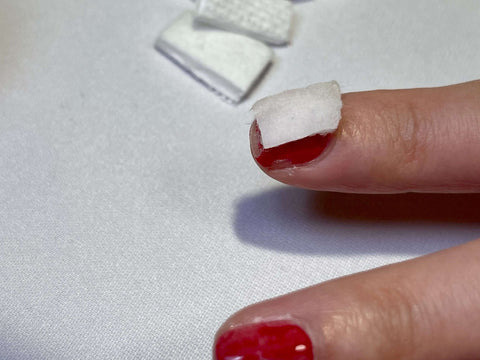
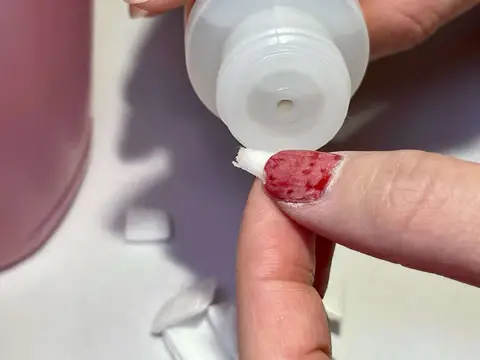
2. Soak it Up: Saturate cotton pads with your chosen remover and press them firmly onto each nail. Wrap them in aluminum foil squares like tiny nail cocoons. Relax for 10-15 minutes, letting the magic work.
3. Lift and Twist: Once the gel edges start to loosen, gently use the orangewood cuticle pusher to lift them away from the nail. Don’t pry or force it; let the remover do its job.
4. Repeat & Refine: If some gel remnants remain, repeat steps 2 and 3 until your nails are squeaky clean. Patience is key!
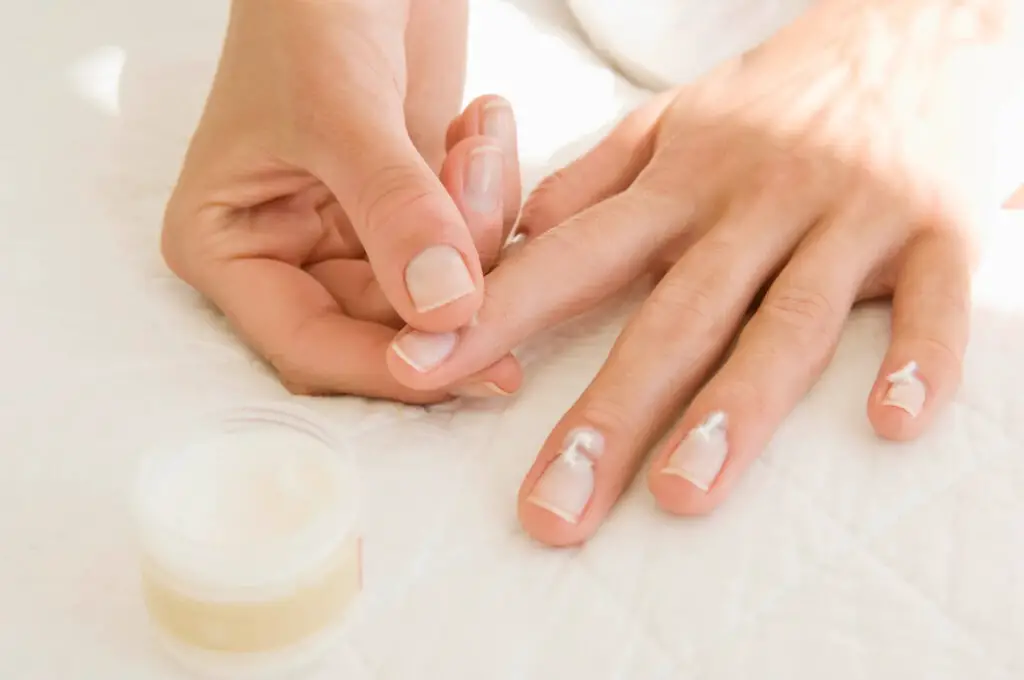
5. Moisturize & TLC: Treat your liberated nails and cuticles to a generous dose of hand cream and cuticle oil. They deserve the pampering after their gel adventure.
- Warm it Up: Soak your fingertips in warm water before starting to soften the gel for easier removal.
- Skip the Scrape: Resist the urge to scrape off the gel with metal tools. This can damage your natural nail bed.
- Listen to Your Nails: If you feel any discomfort or pain during the process, stop immediately and consult a professional.
After saying goodbye to gel, it’s time to give your natural nails some extra love:
- Hydration Hero: Regularly apply hand cream and cuticle oil to keep your nails strong and flexible.
- Nail Necessities: Invest in a base coat to protect your nails from staining and a hydrating top coat to add shine and prevent chipping.
- Take a Break: Give your nails a breather from time to time by going bare or opting for short, natural styles.
With this user-friendly guide and a little patience, you’ll be a gel removal pro in no time! Remember, gentle care and healthy habits are the keys to keeping your natural nails beautiful and strong. So ditch the salon stress and embrace the empowering world of DIY gel removal!
FAQ’s
Q1. How do you remove gel nail polish at home?
Buff the top coat: Use a coarse nail file to remove the shiny top layer of the gel polish.
Soak cotton balls in acetone: Place the soaked cotton balls on your nails.
Wrap with aluminum foil: Secure the cotton balls with aluminum foil and let them sit for 10-15 minutes.
Remove the foil and cotton: Gently push off the gel polish with a cuticle pusher.
Moisturize: Apply cuticle oil and hand lotion to keep your nails and skin hydrated
Q2. What is the healthiest way to remove gel nail polish?
Use acetone sparingly: While acetone is effective, it can be drying. Use it only when necessary.
Protect your skin: Apply petroleum jelly around your nails before soaking in acetone to protect your skin.
Hydrate after removal: Use cuticle oil and hand cream to restore moisture to your nails and skin
Q3. Can you remove gel polish with regular nail polish remover?
Yes, but it takes longer: Regular nail polish remover can work, but it requires more time and effort. You will need to soak your nails longer and may need to buff the polish off gently
Q4. Is gel nail polish easy to remove?
Gel nail polish is designed to be long-lasting and durable, which makes it more challenging to remove compared to regular nail polish.