7 Easy Ways To Do DIY Nail Art Designs At Home 2024!
Nail Art is an awesome makeup topic for the stylish and beauty caring women. Sometimes it can be a complex practice to someone. But, if you want to take the complete test of beauty, you have to apply a lot of items to get the full appearance.
There are a lot of tutorial and suggestion and most of them are too complicated and worthless, that’s why most of us give up all the efforts finally. If you think a different way that a little exception (can be simpler) is worth very much to draw more people’s attention. So, let’s focus on the nail art this time to get a fullness.
How To Do Nail Art Designs At Home?
1. Tri-Color Cliffs Nail Art
2. Bow Nail Art
3. Splatter Nail Art
4. Chevron Nail Art
5. Glitter V-Tip Nail Art
6. Galaxy Nail Art
7. Strips and Lines Nail Art
8. Monochrome Polka Dots Nail Art
These are the simplest and also awesome easy nail art designs ideas that you can try. You will need some simple equipment to complete the designs. So, let’s start with this.
1. Tri-Color Cliffs Nail Art
This is the most amazing and simplest and perfect choice of design if you are a beginner of nail art. You will need only your nail polish for Tri-Color Cliffs because this needs no additional tools for this one. You have to use certain colors, but color choice is fully up to you! Choose your favorite colors from your collection! For this tutorial, you will need pastel blue nail polish, white nail polish and a pastel coral nail polish.
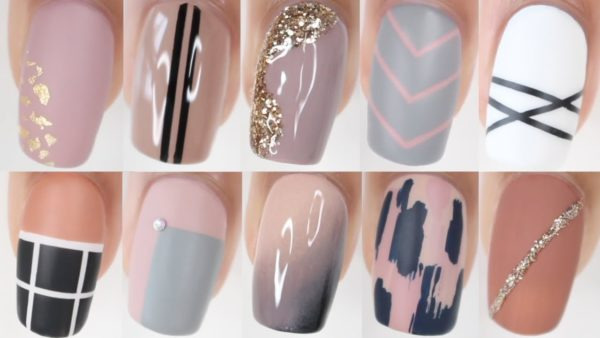
At first, clean your nail and apply a base coat for the protection of your nails. Apply the pastel blue color and create a shape of a vertical stripe on any corner, with this leave some space empty near the cuticle. This time start painting from the center and a little lower.
Create 3 steps of color from the starting point to the nail tip. First, start from the blue and repeat with another color. Now apply the white color. Repeat the pastel coral and apply the way. At last using topcoat seal the whole nail and you are all done!
2. Bow Nail Art
This one is also a very simple and artistic looking nail art. If you are getting hang of doing nail art with only nail polish, it’s time to start with some different. You need to add some additional nail tools for the design. However, this one is also very casual, so you can wear it all times.
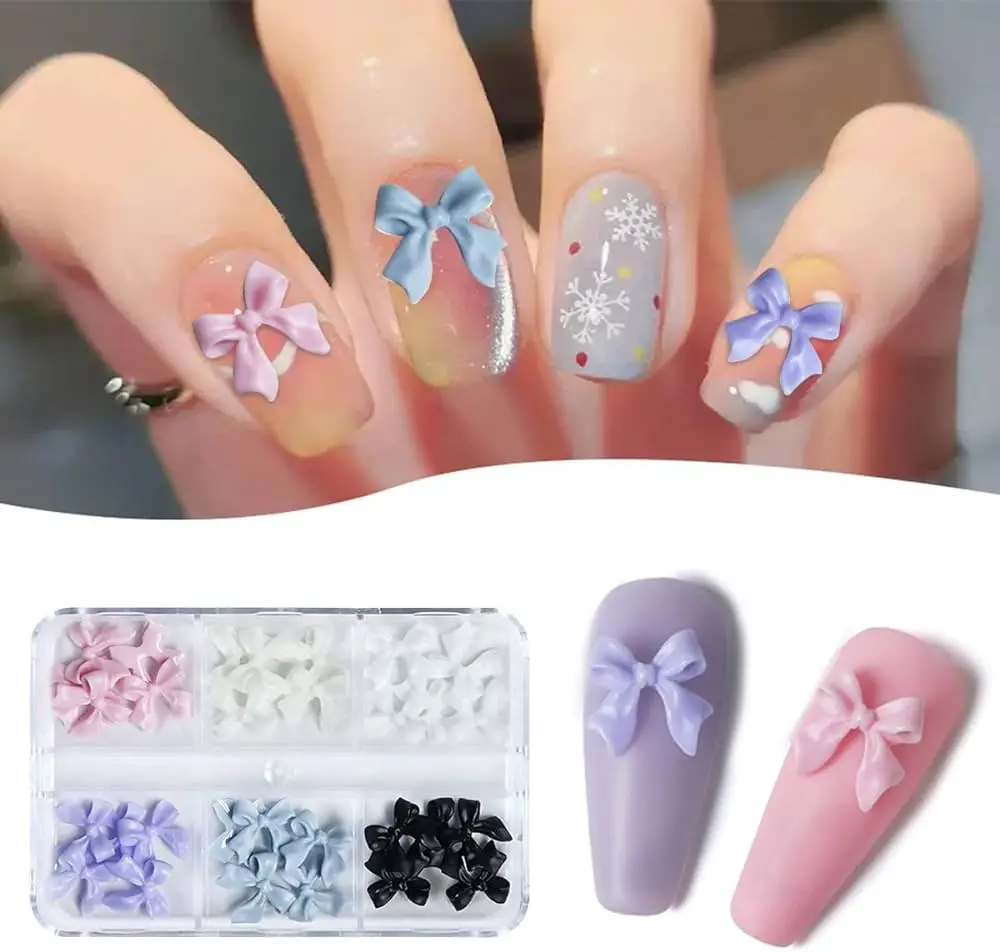
You will need a sky blue nail polish, white nail polish, black nail polish and a nail striper or a very fine paintbrush. As usual clean your nail first. Paint all of your nails with the sky blue nail lacquer as the base color. Now on the base, paint the white heart shape with the white polish.
With the paintbrush draw and create two loops at the meeting point of white and blue color using the black nail polish. This shape will look like a bow finally. As the final task, seal the whole nail with the top coat and enjoy the bow looking.
Quick Tip
Chipping of your nail art could be avoided by reapplying a top coat three times a week.
3. Splatter Nail Art
This one looks like the art of the real world. Using the paintbrush do a fun paint and it will finally get a form of splatter pattern. For this art, you will need, white nail polish, light blue nail polish, purple nail polish, pink nail polish and a stiff paintbrush in total.
At first, apply the base color painting the nails using the white color nail polish. Now start with the fun painting. Dip the brush in the light blue lacquer. Then use your finger and run through the brush. Next, direct it to the targeted nail so that it splatters on the nails.
Repeat the same process for the pink and the purple color polish. Finally, you will get an awesome splatter nail art. At last, clean up the sides around the nails using the cotton ball dipped in the nail polish remover and seal with a top coat.
4. Chevron Nail Art
For the first time, it seems to be a little bit complicated. But it is really very easy to do. Here I have discussed the red, blue and white color but you choose your preferred color. First, take the nail polish of red, blue and white color and a tape.
Take and apply the red nail polish as the chevron nail art. Then place the tape in a way that creates a chevron stencil. Now apply the blue colored nail polish over the tape and red polish. Wait a little moment and remove the tape. Again place the tape near the cuticle and paint the blank area with white nail polish. In the same way, wait for a moment and take off the tape. Finally, apply a top coat.
5. Glitter V-Tip Nail Art
This a gorgeous nail art for women. This art is perfect for the party. If you are going to join a party and not ready with your nails yet, this nail art is perfect for you. This is a perfect tutorial for the person in a rush. You need a black nail polish, a silver glitter nail polish and a ‘V’ shaped sticker or a piece of tape.
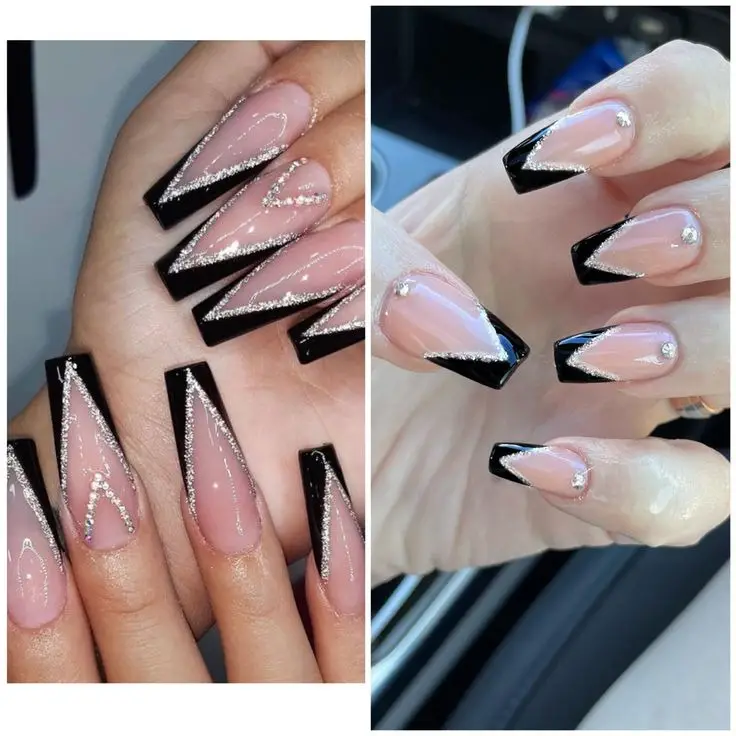
Start with painting the nail with the black polish as the background color. Now come to the main point. Make the ‘V’ shape placing the V sticker or the corner of a tape. Afterward, paint the bottom of the nail with the glitter nail polish. Then wait for some time and take off the V tape or sticker. At last, apply the top coat.
6. Galaxy Nail Art
This nail art looks like the whole galaxy is on your nails! After painting when you will look at the nails, you will find yourself out of the world!! Actually, I love to do anything with space, so this is one of my favorite nail art. Gather a black, metallic green, pink, and a blue nail polish with a makeup sponge and of course the glitter top coat.
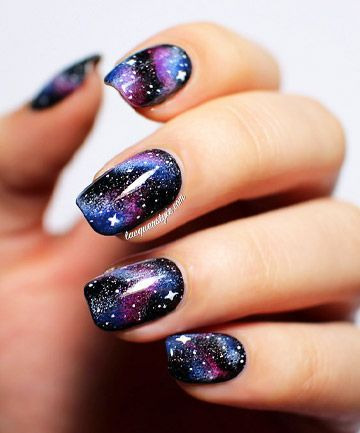
Start applying with the black polish as the base color. Take a little metallic green polish on a container and with the makeup sponge dab onto the nail. Do the same process with the blue one and create a blue shade. You will get your nails with a glow of galaxy already. To enhance the charming looking apply a glitter top coat.
7. Strips and Lines Nail Art
For this shape be a little careful for the right shape. At first, apply the pastel blue as the base color. When it will dry, it’s ready to place the tape. Follow the rules for the placement of the tape. For the pinky, place it diagonally and for the ring finger cut up the tape in thin stripes.
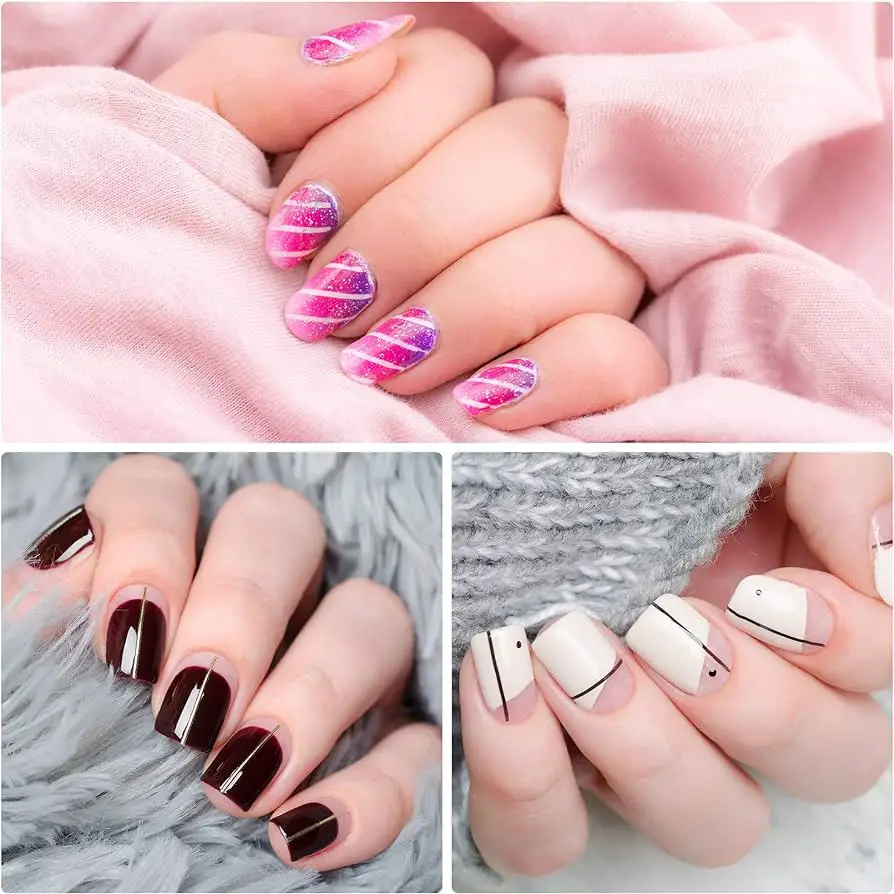
Give a ‘V’ shape from the tape to the middle finger. On the index finger create a very sharp angled strangles with the tape. Choose a design for the thumb finger by your own. With the brown polish, paint over the tape stencils. Wait until the nail polish gets dry. Then remove the tape carefully.
8. Monochrome Polka Dots Nail Art
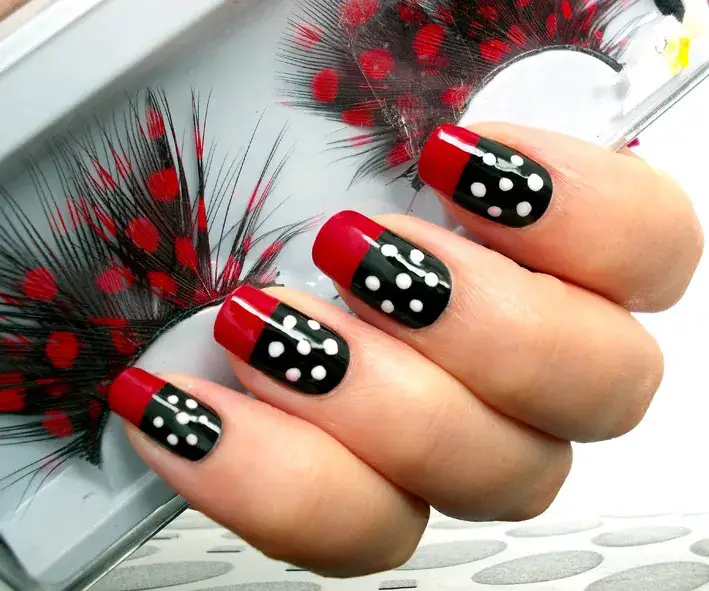
This the last tutorial of this list. This is both easy and simple and I love this one very much! This art can be achieved by a small effort. This design is the combination of black and white polka dots. You will need a black & a white nail polish and dotting tool, pencil or bobby pin. First, paint the nails with black lacquer. Now create the white dots by the dotting tools, a pencil or the back of a bobby pin. For the glitter and protection apply the top coat.
So, these are the popular nail art that you can use at your home. Nail art is quite therapeutic. When you are alone, take some time and gather unique thoughts and you can design your nails with beautiful appearance.
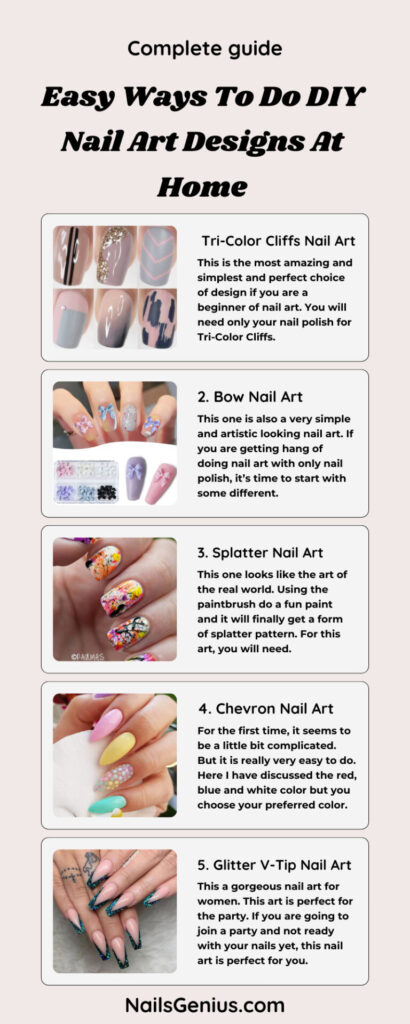
Infographic: Nails Arts Trading ideas in 2024
Recommended article: How To Whiten Nails Instantly and Naturally At Home
FAQ’s
Q1. What is the hottest nail trend right now?
Hottest Nail Trend Right Now: The floating French tips are currently in vogue. These minimal nail art designs offer a chic update to the classic French manicure. Start with a neutral base color and draw a line a third of the way down your nails in a shade of your choice.
Q2. What are the five 5 basic nail designs?
Five 5 basic nail designs are Aura Nails, Coquettecore, Pastels for All Seasons, 3D Nails, and Chocolate Milk Nails designs.
Q3. What is the trend in nails for 2024?
Nail Trend for 2024: Chocolate Milk Nails! This minimalist look features variations of neutral shades like sandy beiges, light pinks, and deep browns. Opt for shades without shimmer for that creamy, natural appearance.
Q4. Which nail art is best?
Best Nail Art: While preferences vary, some popular choices include ultra-glossy nails, floating French tips, and minimalist looks like the chocolate milk nails.